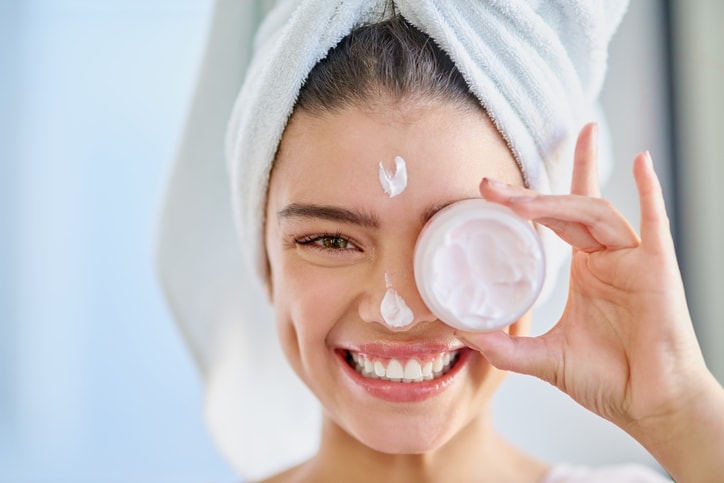
Professional photography has a way of capturing everything, from your best angles to the smallest imperfections. While a skilled photographer and flattering lighting can work wonders, true confidence in front of the camera starts with how you feel in your own skin. And that confidence is built long before the shutter clicks. Whether you’re preparing for an engagement shoot, personal branding session, or milestone portrait, a thoughtful skincare routine can help you look polished, fresh, and fully yourself.

You don’t need a complicated regimen to get results. With a few well-timed and targeted steps, you can elevate your skin’s tone, texture, and glow in the weeks leading up to your shoot. Here are the most effective skincare musts and the powerful, non-invasive therapy that ties them all together.
1. Hydrate, Inside and Out
Facial hydration is the foundation of healthy, camera-ready skin. It improves elasticity, enhances smoothness, and helps your complexion reflect light in the most flattering way. In photos, well-hydrated skin looks plump, even, and naturally radiant.
To stay hydrated leading up to your shoot:
- Drink water consistently throughout the day to support skin function from within.
- Eat water-rich foods like cucumber, watermelon, and leafy greens.
- Use topical hydrators such as hyaluronic acid or glycerin serums layered under your moisturizer.
This simple but essential step supports smooth makeup application and prevents dry patches, dullness, and fine lines from becoming more noticeable in high-resolution images.
2. Exfoliate for Smoother Texture
Regular exfoliation helps remove dead skin cells and keeps your complexion looking clear, even, and bright. When done properly, it also improves how your skin reflects light, a key factor in achieving that lit-from-within look on camera.
Be sure to:
- Use gentle chemical exfoliants like lactic acid or enzyme-based products 1–2 times per week.
- Avoid harsh scrubs, which can cause irritation or microtears, especially before a photoshoot.
- Taper off exfoliation in the final few days before your session to avoid sensitivity.
Consistent, gentle exfoliation creates a smoother base for makeup and helps reduce the appearance of texture or roughness that can be emphasized under photography lighting.
3. Calm and Correct Visible Concerns
Redness, blemishes, or uneven skin tone can be hard to conceal, especially under studio lights or natural sunlight. Targeting these issues early gives your skin time to heal and settle, helping you feel more confident on the day of your shoot.
Here’s how to minimize visible concerns:
- Use ingredients like niacinamide or azelaic acid to calm redness and support even tone.
- Treat breakouts gently with spot treatments you’re already familiar with.
- Avoid experimenting with new products within one week of your shoot.
- Prioritize barrier support, especially if your skin is sensitive or easily irritated.
Balanced, calm skin looks healthier and is easier to work with, both for you and your makeup artist.
4. Moisturize Consistently
A good moisturizer does more than hydrate. It locks in all the steps before it, strengthens the skin barrier, and creates a smooth, supple canvas that looks incredible in photos. This is especially important for skin that might otherwise appear tight, flaky, or overly shiny.
Choose your moisturizer based on your skin’s needs:
- For dry or sensitive skin, opt for richer creams with ceramides or fatty acids.
- For oily or combination skin, go for lightweight, gel-based formulas with hyaluronic acid or squalane.
- Avoid overly greasy formulas the day of your shoot to maintain balance and control shine.
Applying moisturizer daily, especially the night before your shoot to ensure your skin stays hydrated, calm, and naturally radiant on camera.
5. Enhance with LED Light Therapy
While each step plays an important role, LED light therapy is what brings it all together. This advanced, non-invasive treatment helps improve skin function from deep within. It has gained popularity for its ability to stimulate collagen, calm inflammation, and gradually enhance skin clarity, making it a powerful addition to any pre-photoshoot routine.
Red, near-infrared, and blue light each offer targeted benefits:
- Red light boosts collagen and reduces signs of aging, smoothing fine lines and improving elasticity.
- Near-infrared light supports circulation and helps reduce puffiness, redness, and dullness.
- Blue light targets acne-causing bacteria and helps keep oil production in check.
With consistent use, about 3 to 5 sessions per week, you’ll notice improvements in skin tone, texture, and clarity. The GloTech™ Mask Pro provides full-face coverage using medical-grade light, while the GloTech™ Collar targets the neck and chest.
LED light therapy works best when combined with light-activated serums and followed by a nourishing moisturizer. Together, they help you achieve lasting results that go beyond surface-level glow, making this one of the most effective tools for pre-shoot skincare.
Final Thoughts: Where Confidence Begins
Photographs aren’t just about how you look, they capture how you feel. And when your skin feels healthy, calm, and well cared for, you show up with a kind of confidence that no filter can replicate. By focusing on hydration, gentle exfoliation, barrier care, and LED light therapy, you’re giving your skin exactly what it needs to perform its best under the lens.
These steps are simple, effective, and proven. With just a few weeks of consistent care, you’ll be able to face the camera with total confidence, knowing your skin is not only photo-ready but genuinely thriving.


